“Print Basics” is a series that provides an in-depth look at print, prepress, ink and more.
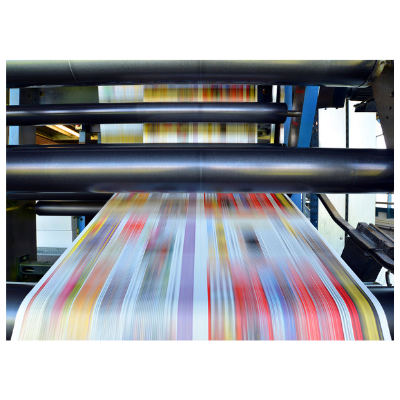
Earlier in this series, we took an in-depth look at the various types of print for envelope projects. Before printing can occur, digital design files need to be converted into a format for the printing press in the Prepress department.
What is Prepress?
Prepress is the team that works with your envelope project after the creative work has been done and before printing takes place. The focus in Prepress? Precision. Strong attention to detail during Prepress can help your overall mailing be a successful one.
Let’s take a look at two of the steps involved in Prepress where precision is key, and some tips for success to follow along the way.
Step 1: Reviewing a Proof of the Envelope Design
First, a proof of the artwork is needed to demonstrate what the final design will look like on envelope paper. You’ll need to send your design files, specific color preferences and envelope specifications (such as size, style, window specification and barcode information) to your sales team or directly to the Prepress team. This information will all be reflected in the final proof for you to review in detail.
Tip #1: Having a thorough, detailed conversation with your sales contact at your envelope company prior to requesting a proof can improve the accuracy of your proof.
Important things to communicate when requesting a proof include logo guidelines, fonts and/or design placement to help ensure your brand image is accurately reflected. Ideally, the design files will include all native files with fonts, images and any support files to ensure the proper assets are featured on the proof (because they can be too large for email attachment, work with your sales team on the best way to submit the files).
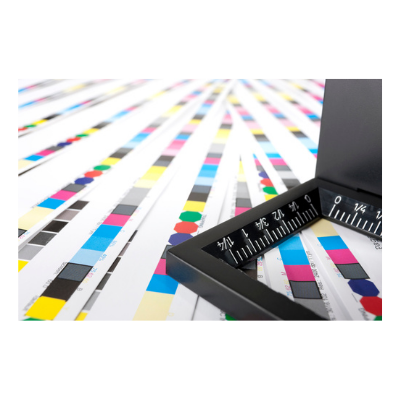
Step 2: Preflight the Artwork
Once the Prepress team has received your artwork, it’s time for them to “preflight” the artwork into a digital PDF version of the proof. In printing, the preflight is the process of confirming that the digital files required for the printing process are all completely accurate.
Preflighting the artwork ensures design standards are attained and allows the Prepress team to assess image resolution, font styles and sizes, artwork for trapping issues (i.e., when one ink is printed on top of another to achieve a desired color), and other details important to quality envelope printing.
Tip #2: Take out the guesswork — ensure your design is set to scale.
Artwork should have a resolution of at least 300 dots per inch (dpi) and scaled to the final image size. The ratio of the scanned resolution to the reduction percentage will yield final resolution. For example, a 72 dpi image scaled to 24 percent would meet the 300 dpi requirement (e.g., 72 divided by 0.24 equals 300).
Contact Us
When it comes to brand identity, details matter. The precision in your designs and how they are translated to print can have a significant impact on your project. Talk with a Tension expert to discuss your next design today.